Before installing Gardener you have to install WordPress. You can install it yourself or use any web host that installs WordPress for you. To know more visit WordPress.org.
Install Gardener Theme
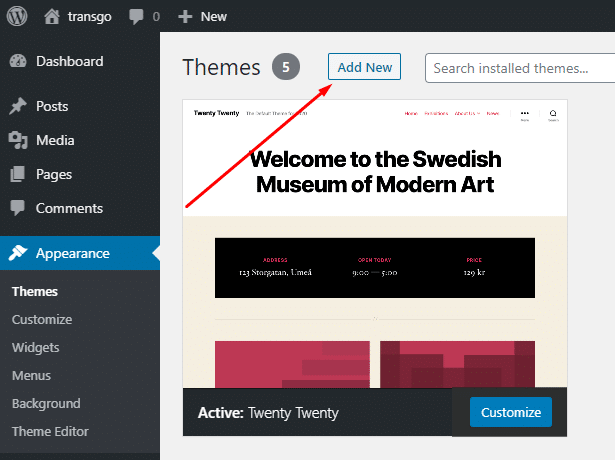
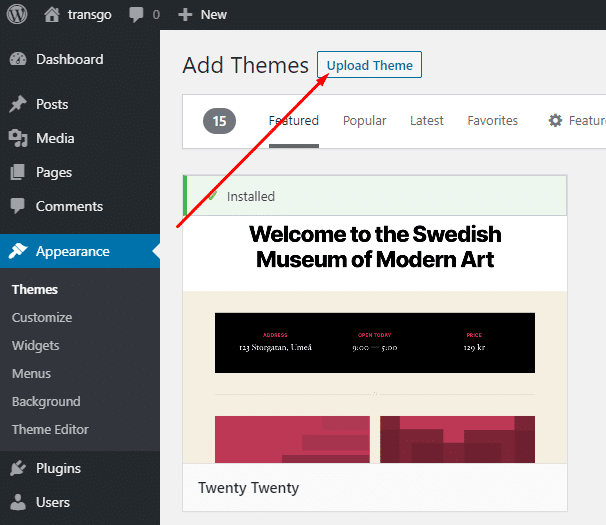
1. First, go to Appearance > Themes and click Add New to add Gardener Theme.
2. Next, Click Upload Theme to upload the theme file you have purchased.
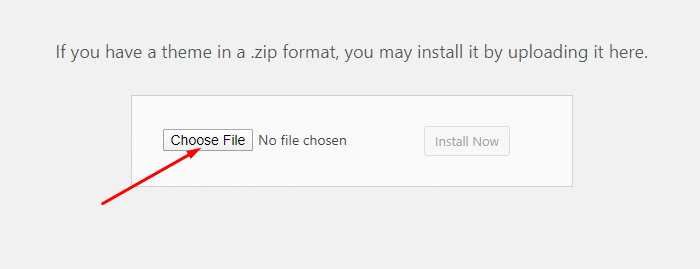
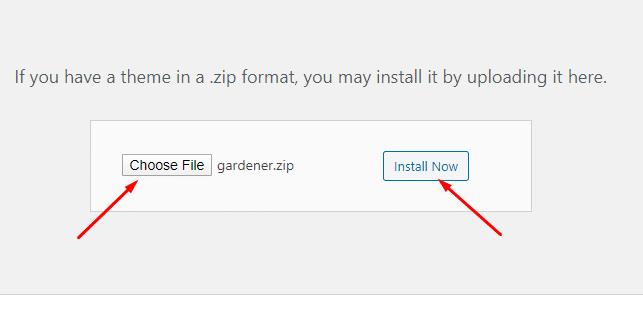
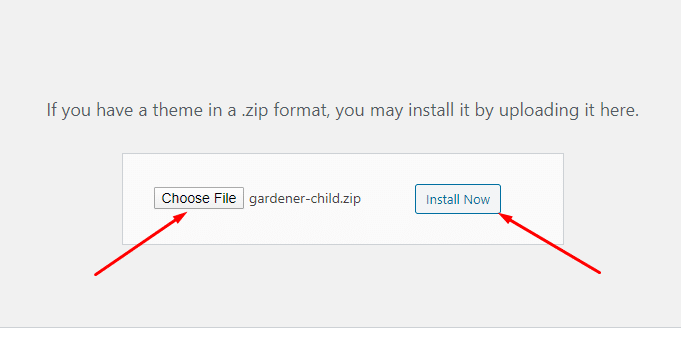
3. Now, click Choose File and Pick the Gardener.zip file from your PC to upload it.
4. Next, click Install Now to start the installation process.
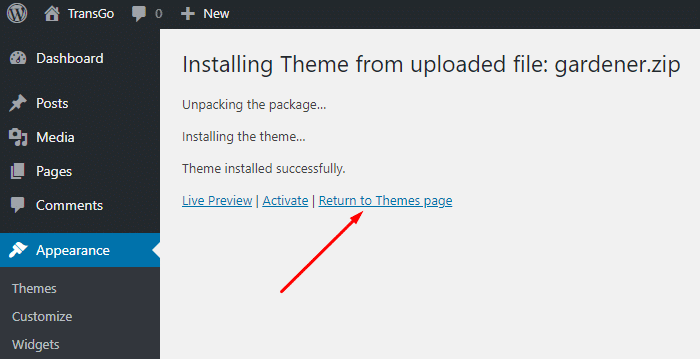
5. When the gardener-wp.zip file is uploaded and installed completely you will see “Theme installed successfully” message. But you should not activate this one, because when gardener theme will be updated to a later version all modification you have made directly in the gardener theme will be lost. Hence, we suggest you to install and activate the gardener Child theme we provide for your convenience.
Install Gardener Child Theme
6. Again, to install Gardener Child theme click Add New.
7. Now click Upload Theme to upload Gardener Child theme this time
8. Click, Choose File and Pick gardener-child.zip to upload it.
9. Hit the Install Now button to begin Gardener Child theme installation.
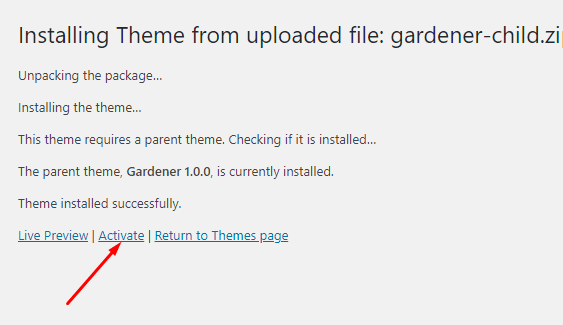
10. Now you will get a confirmation that both the Child theme And the parent Gardener theme are installed successfully.
11. Finally, Click Activate to activate the Child theme.
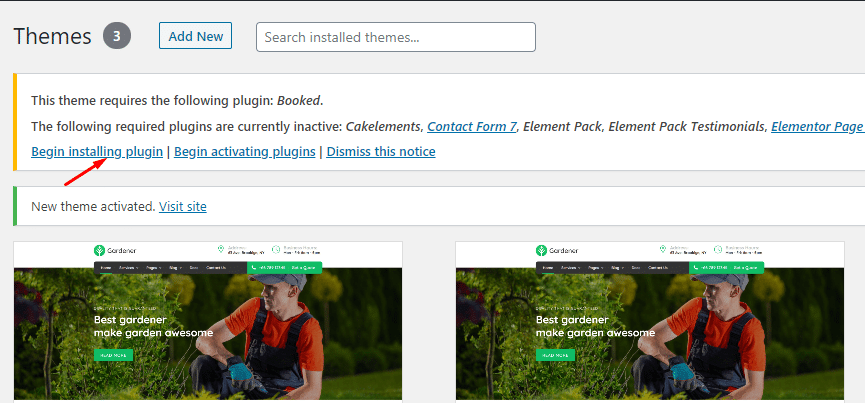
Install Plugins
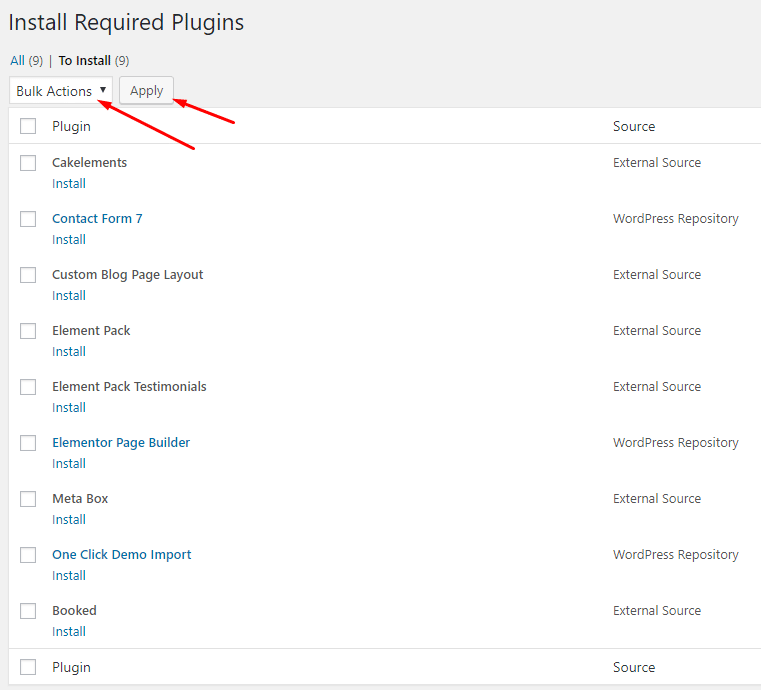
1. Go to Plugins, click Begin Installing Plugins.
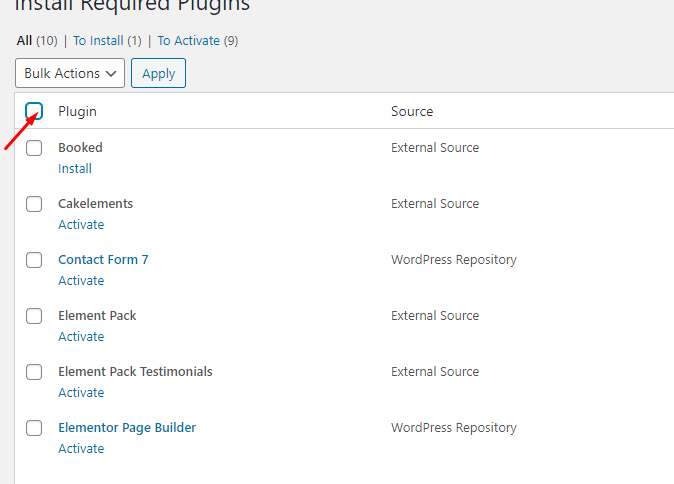
2. Check all plugins.
2. Check all plugins.
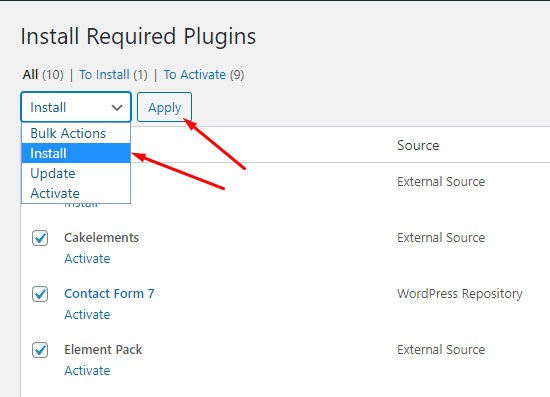
2. Then choose Install in the Bulk Actions dropdown and click Apply.
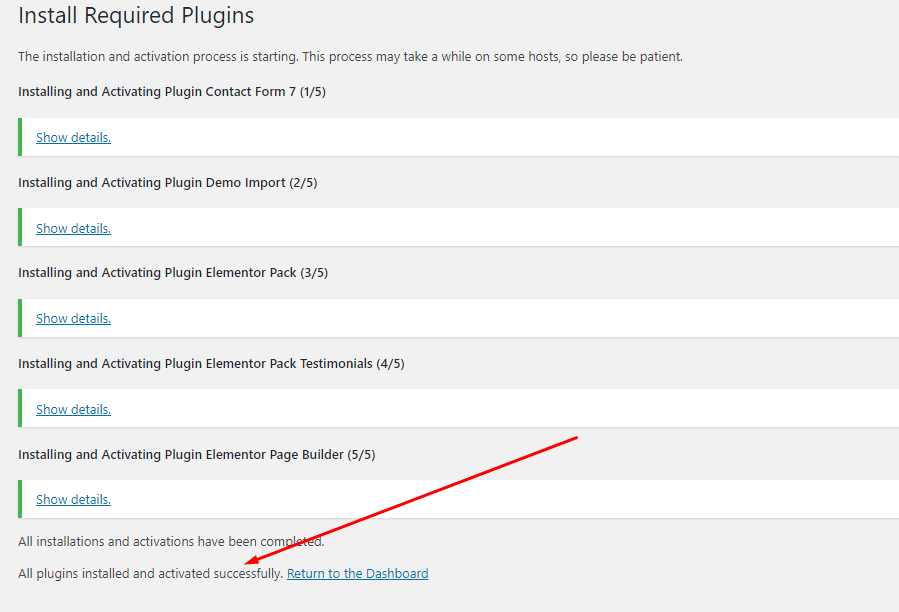
3. And finally, you will see the confirmation that all plugins are installed and activated successfully. Click Return to the Dashboard link right side of the conformation Message shown.
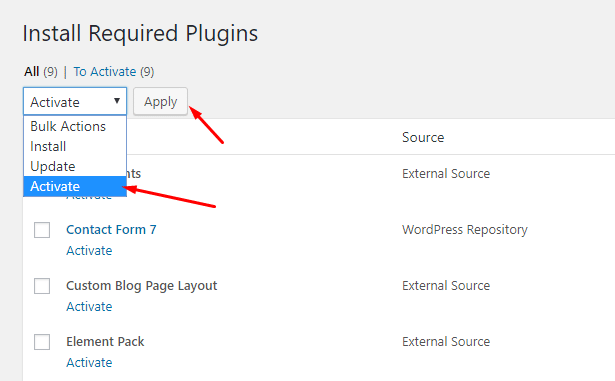
4. Check all plugins. Then choose Activate in the Bulk Actions dropdown & hit Apply buttton.